New here? Start with the 'Getting Started' guide. Already installed the package? Download the latest update and watch the setup video.
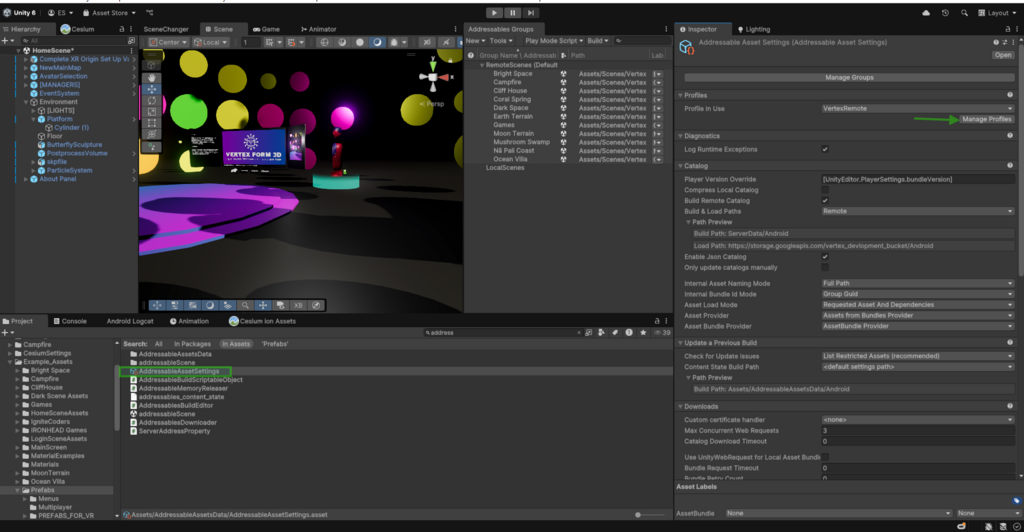
Select your Database and switch all scenes to "Remote" using the dropdown menu.
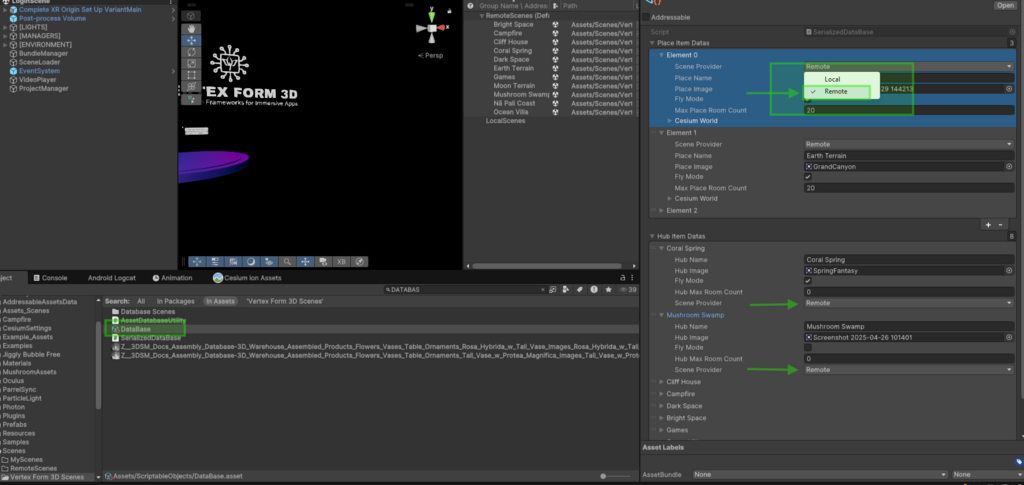
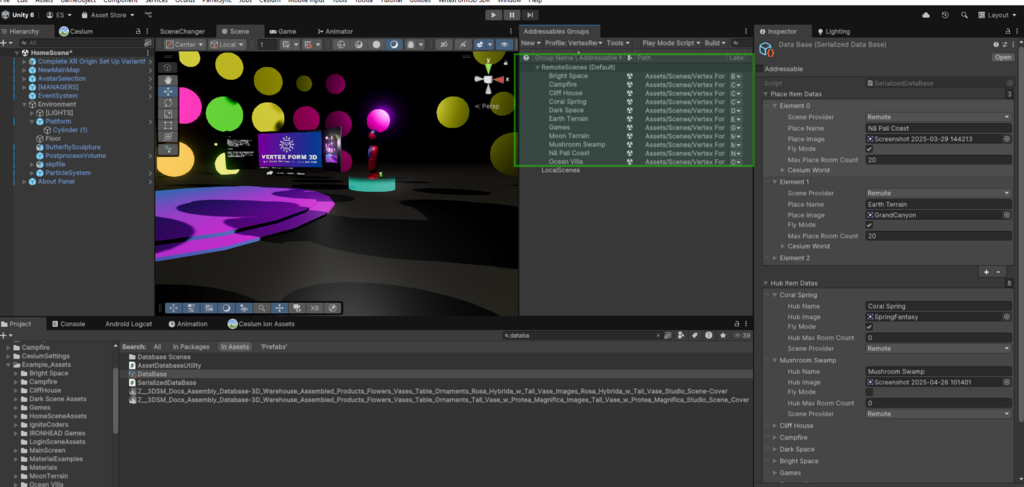
Next, open the Addressables Groups window and move all your scenes into the RemoteScenes (Default) group. This ensures that your scenes are correctly flagged for remote loading and included in your cloud delivery build.
Then, search for AddressableAssetSettings in the Project window and click on Manage Profiles. This allows you to configure the path for remote content delivery.
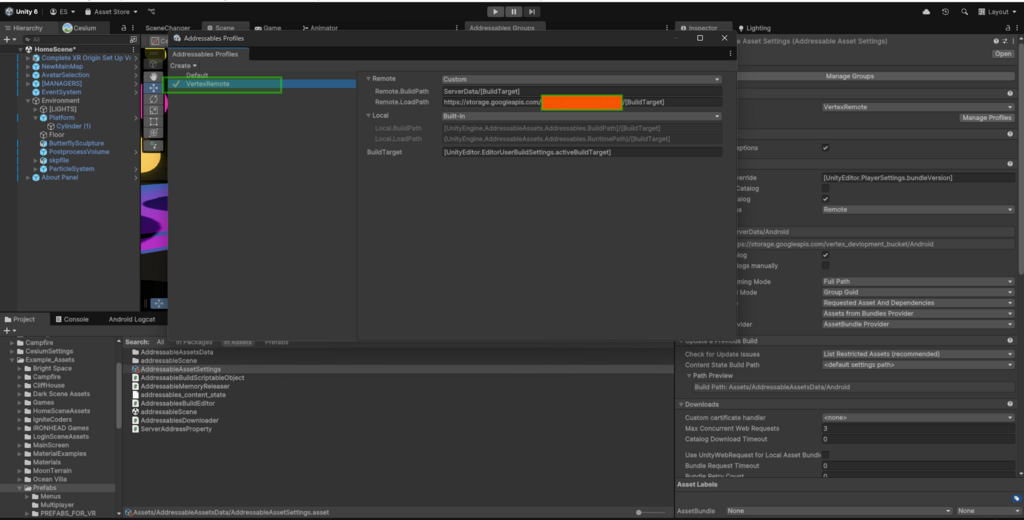
In the Manage Profiles window, select the VertexRemote profile. Then, locate the Remote.LoadPath field and enter the URL where your addressable scenes will be hosted. This URL must point to a publicly accessible location you've configured—for example:https://storage.googleapis.com/yourproject_bucket/[BuildTarget]
Make sure this path matches your actual cloud bucket setup and includes the correct build target placeholder.
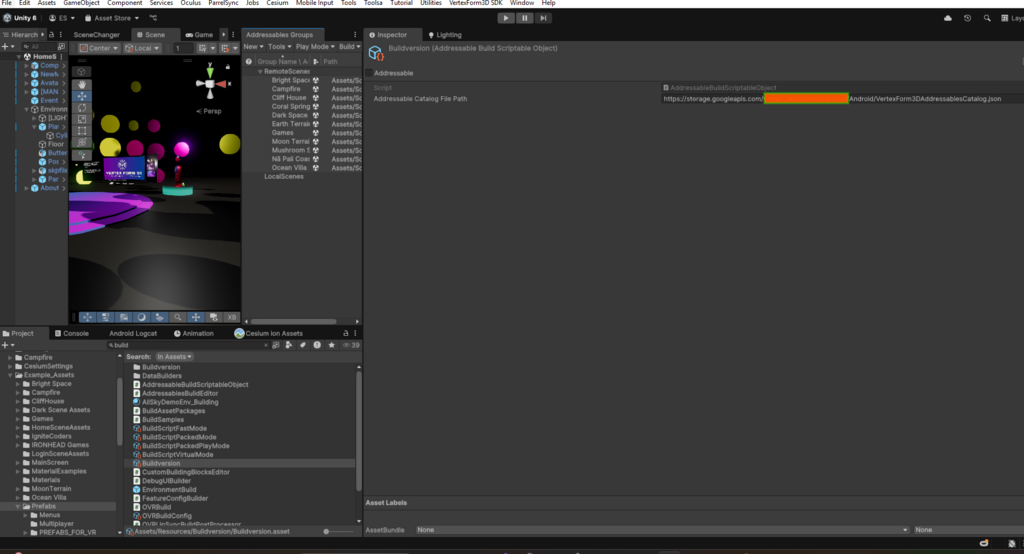
Next, update the BuildVersion reference.
Search for BuildVersion in the Project window and update the path field. This URL should point to your remote Addressables catalog and follow this format:https://storage.googleapis.com/yourproject_bucket/Android/VertexForm3DAddressablesCatalog.json
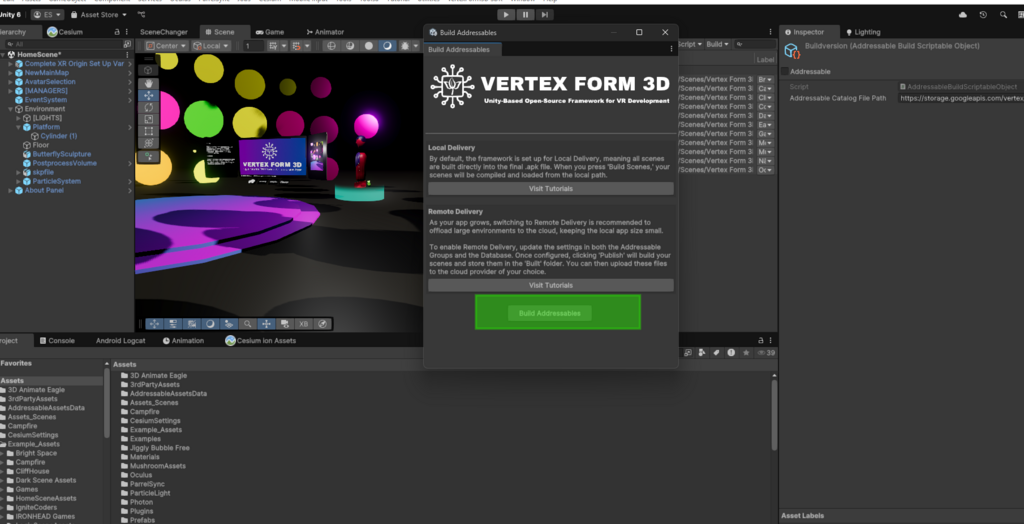
Now you're all set for remote delivery.
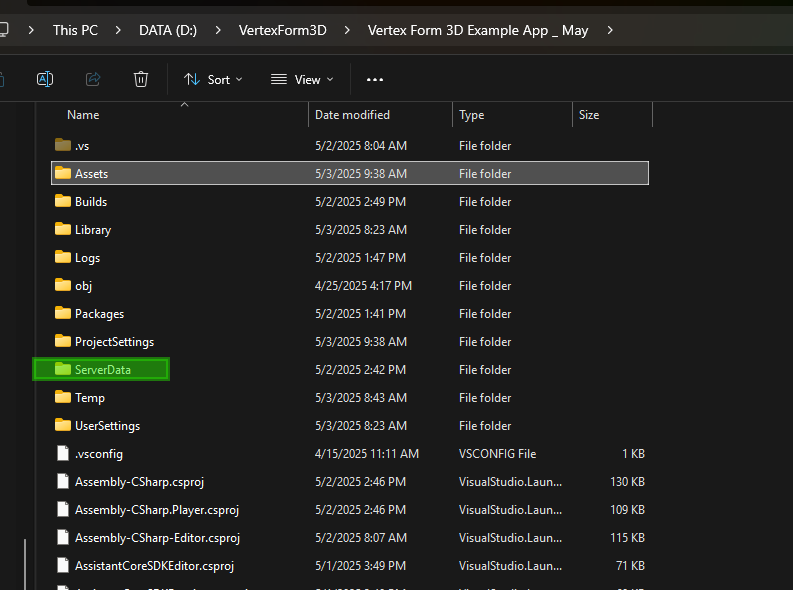
To test it, build your addressable scenes by going to the Vertex Form 3D SDK and clicking Build Addressables. Once the build is complete, a new folder named ServerData will be created.
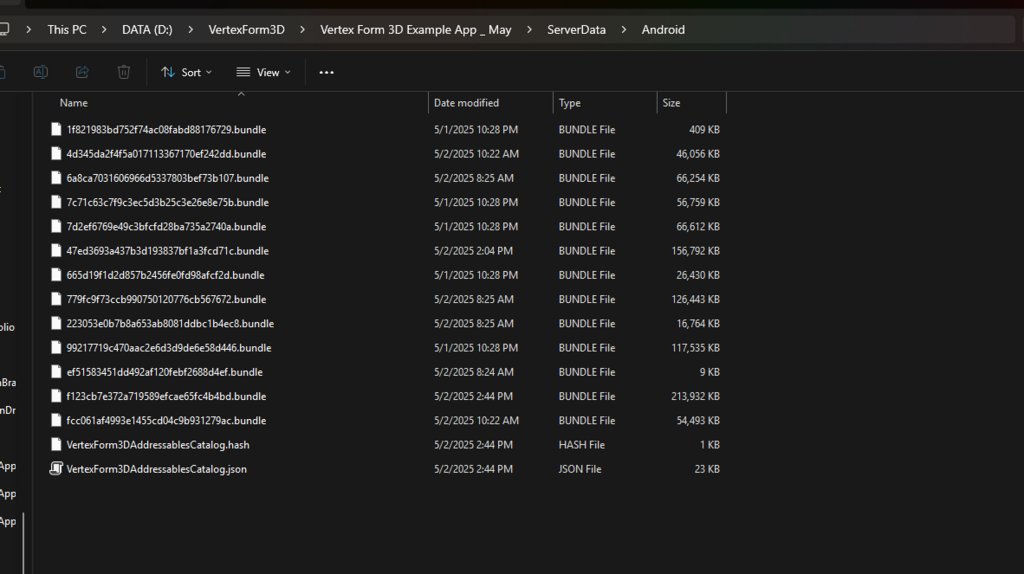
To locate it, right-click on the Assets folder in the Project window and select Show in Explorer. Inside the ServerData folder, open the Android directory—you should see a list of your addressable scenes ready for upload.
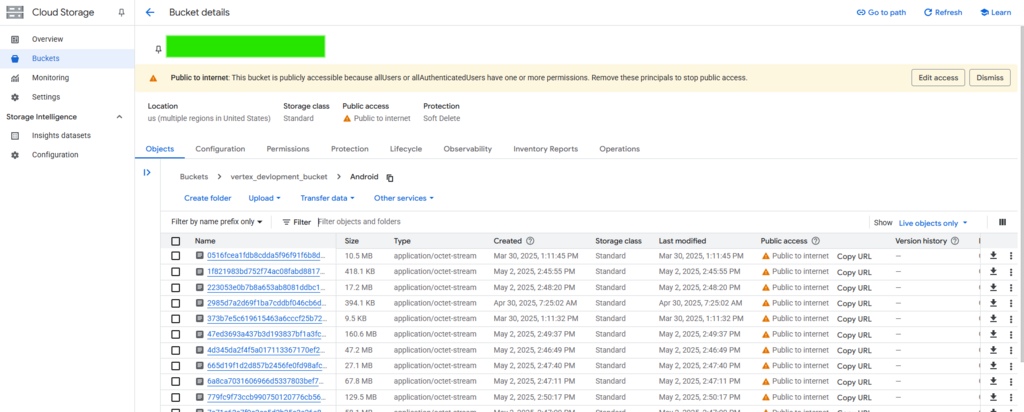
Navigate to your cloud provider of choice (e.g., Google Cloud, AWS, Azure) and set up a storage bucket for your project. Make sure the bucket is publicly accessible to allow downloads from the headset.
Then, drag and drop the contents of your addressable build (from the ServerData/Android folder) into the bucket.
Finally, build and upload your updated APK to the Meta Quest platform. Once published, test your app. If your cloud URL is configured correctly, users will see download options inside the app, along with the file size of each environment. They’ll be able to download and enter environments on demand.